A Homeowner’s Guide: How to Use a Plunger the Right Way
Every homeowner deals with clogged drains at some point. Whether it’s a slow-draining sink, a backed-up toilet, or a bathtub that won’t empty properly, one of the simplest and most effective tools you can use is the plunger. Despite its basic design, many people don’t actually use plungers correctly, which leads to frustration and persistent clogs. Understanding the proper technique makes the plunger a powerful first line of defense against common plumbing issues.
Choose the Right Plunger for the Job
Not all plungers are created equal. In fact, using the wrong type can make unclogging nearly impossible.
Cup plunger:
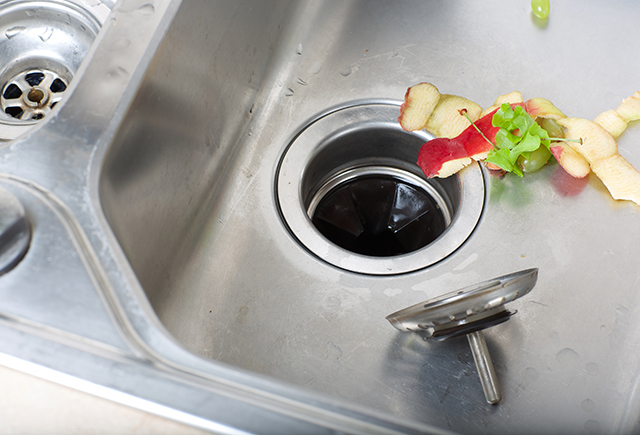
This is the classic style with a simple rubber cup. It works best for sinks, tubs, and flat drain surfaces.
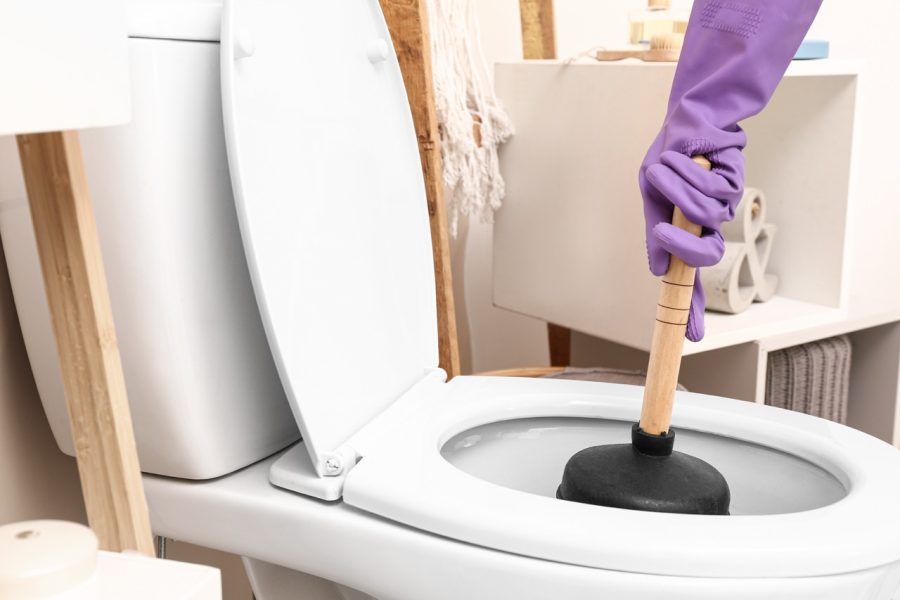
Flange plunger:
Designed specifically for toilets, this plunger has an extended rubber flap that fits into the toilet drain to create a stronger seal.
Using the right tool ensures better suction and quicker results.
Prepare the Area Before Plunging
Before you begin, make sure there’s enough water in the bowl or basin. Plungers need water—not air—to create pressure. If the toilet bowl is too low, add water until the rubber cup is fully submerged. For sinks or tubs, fill a small amount of water over the drain if needed.
If working on a sink with an overflow hole (a small slit near the top), cover it with a cloth or your hand to get a tight seal. Without this step, plunging won’t be effective.
Create a Strong Seal
Position the plunger directly over the drain and press down firmly to create an airtight seal. The rubber head should fully cover the drain opening with no gaps.
In a toilet, insert the flange into the drain opening and tilt the plunger slightly to allow air to escape before starting the plunging motion.
Use the Correct Technique
Contrary to popular belief, plunging is not about pushing down hard. It’s about controlled pressure changes.
• Start with a gentle push to seal the plunger in place
• Then push down and pull up in rhythmic, steady motions
• Keep the seal intact throughout the process
• After 10–15 plunges, remove the plunger and check drainage
If the water drains smoothly, the clog has likely cleared.
Avoid Common Plunging Mistakes
Some errors make unclogging harder or damage your plumbing:
• Don’t use excessive force — this can harm pipes or fixtures
• Don’t plunge after using chemical drain cleaners — it’s unsafe
• Don’t alternate between plunging and flushing repeatedly
If the clog persists after several attempts, professional help may be necessary.
When to Call a Plumber
If you notice repeated clogs, slow drainage throughout the home, or gurgling sounds after plunging, the issue may be deeper in your plumbing system. These signs often point to sewer line problems, root intrusion, or blocked vents, all of which require expert service.
Final Thoughts
A plunger is one of the simplest but most valuable tools in your home. With proper technique and the right plunger, most minor clogs can be cleared quickly and safely. But if plunging doesn’t solve the problem or if clogs return frequently, it’s time to bring in a plumbing professional who can diagnose and fix the underlying issue.